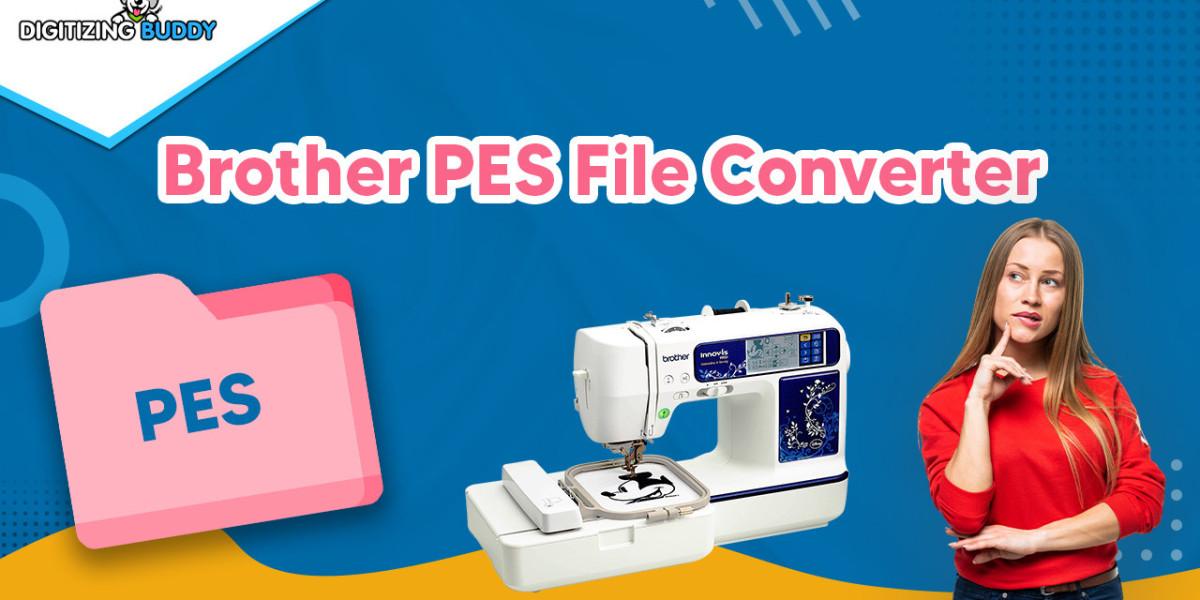
You've got an amazing image – maybe a company logo, a pet portrait, or custom artwork – and you're dreaming of seeing it stitched out on fabric. But your embroidery machine doesn't speak JPEG or PNG. It wants a PES file, that special digital language Brother machines understand. Converting images to PES format isn't just about file translation; it's about transforming pixels into perfect stitches. Let's explore how to bridge this digital divide without losing your design's soul in translation and also discuss some of the best image to PES converter.
Why PES Files Matter
PES isn't just another file extension – it's a meticulously coded instruction manual for your embroidery machine. Unlike regular image files that simply show where colors go, a PES file tells the machine:
- Exactly where to place each stitch
- What color thread to use and when to change
- How fast to move the needle
- When to trim threads between elements
This is why you can't just rename a JPEG to .PES and call it a day. The conversion process requires specialized software that understands both graphic design and embroidery physics.
The Conversion Spectrum: From Basic to Pro
Not all image-to-PES conversions are created equal. There's a whole range of approaches, from quick-and-dirty to painstakingly precise:
1. Instant Online Converters
These web tools promise one-click conversions. You upload an image, they spit out a PES file. Sounds magical, right? The reality:
- Pros: Fast, free, no software to install
- Cons: Often creates stitch-heavy, inefficient designs with no customization
They're like using Google Translate for poetry – you'll get the general idea, but none of the artistry.
2. Auto-Digitizing Software
Programs like Brother's PE-Design or Hatch Embroidery offer auto-digitizing features:
- Pros: More control than online tools, ability to tweak settings
- Cons: Still requires manual cleanup for professional results
This is the equivalent of using a cake mix – better than starting from scratch, but not quite bakery quality.
3. Professional Digitizing Services
When you send your image to experts who manually convert it:
- Pros: Perfectly optimized for your specific fabric and machine
- Cons: Costs money (typically $10-$50 per design), takes time
Think of this as hiring a personal chef – you pay for their expertise and get exactly what you want.
The Nuts and Bolts of Good Conversion
What actually happens during quality image-to-PES conversion?
Image Preparation
o Simplifying complex colors and gradients
o Thinning lines that are too delicate to stitch
o Boosting contrast so elements stand out
Stitch Planning
o Mapping stitch paths for efficiency
o Determining optimal stitch types (satin vs. fill)
o Adding underlay stitches for stability
Machine Optimization
o Setting proper thread tension parameters
o Adding tie-off stitches to prevent unraveling
o Sequencing color changes logically
Bad conversions skip these steps, resulting in designs that either look nothing like the original or stitch out as thread-clogged messes.
Free Options That Don't Completely Suck
If you're dipping your toes in embroidery, these free/cheap tools can help without breaking the bank:
Ink/Stitch (free Inkscape extension)
- Best for: Tech-savvy users who want control
- Learning curve: Moderate
Embrilliance Express
- Best for: Quick simple conversions
- Learning curve: Easy
SewArt (limited free version)
- Best for: Basic auto-digitizing
- Learning curve: Gentle
These won't give you professional boutique-quality results, but they'll get you started better than random online converters.
When to Open Your Wallet
Some designs absolutely justify spending money on conversion:
- Business logos where professionalism matters
- Complex artwork with shading or fine details
- Bulk conversions where your time is worth more than the fee
- Specialty items like 3D puff or sequin designs
Pro tip: Many digitizing services offer "cleanup" services where they'll fix your self-converted files for less than full digitizing costs.
The DIY Path: Learning to Digitize Right
If you're serious about embroidery, learning manual digitizing pays off long-term. It's like the difference between:
- Following a recipe (auto-converting)
- Understanding cooking principles (manual digitizing)
Start with:
- Simple shapes (avoid photos and gradients at first)
- One software platform (don't bounce between programs)
- Test swatches (always stitch out your practice designs)
The learning curve is steep but rewarding – soon you'll be tweaking designs like a pro.
Conversion Pitfalls to Avoid
Even with good software, watch out for:
The Blob Effect
Too many stitches too close together creates stiff, cardboard-like patches. Solution: Reduce density in fill areas.
Thread Break City
Poorly planned stitch paths cause constant breaks. Fix: Check for long jumps between elements.
The Disappearing Detail
Small elements getting lost? Minimum line thickness should be 1.5mm for stitching.
Color Confusion
Some converters assign random thread colors. Always preview in software before stitching.
The Future of Image Conversion
Emerging technologies are changing the game:
- AI-assisted digitizing that learns from human corrections
- 3D simulation previews showing exactly how designs will stitch out
- Cloud-based processing for instant professional conversions
- Machine-specific optimization accounting for your exact model's quirks
While we're not at "push button, get perfect PES" yet, the tools keep getting smarter.
Your Conversion Action Plan
- Start with clean, high-contrast images
- Try free tools for simple designs first
- Invest in professional conversion for important projects
- Consider learning manual digitizing if you'll do this regularly
- Always test stitch before committing to final products
Remember: Every embroidered masterpiece starts as a digital file. With the right conversion approach, your images can make the leap from screen to fabric beautifully. Now go make something stitch-worthy!
