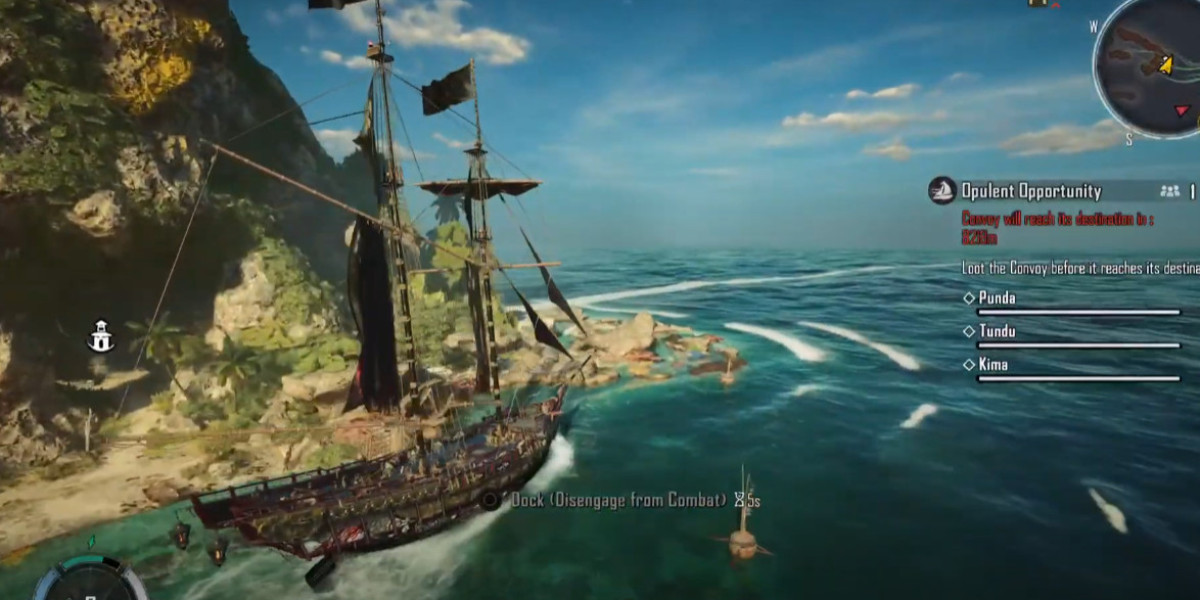
On going deep-dive into the newest ship added to the Skull and Bones sandbox-the Frigot. This time, we're shifting focus to Storm Struck and Ablaze, while still keeping torn sails in play for some devastating follow-ups.
If you're looking to melt enemy fleets with brutal damage over time, speed up your reloads to near-machine-gun levels, and control the battlefield Skull and Bones Items, this is the Frigot build you need to see.
Understanding the Frigot's Perks
The Frigot's defensive perk is deceptively strong in fleet engagements:
10% damage reduction to any nearby small or medium ships (when the Frigot is present).
When the Frigot builds up enough Grit from taking fire, nearby ships can get up to 20% damage reduction.
It also tosses out small armor bonuses, but these are minimal and not a core part of the build.
This makes the Frigot a natural fleet anchor-tanking hits, keeping allies alive, and creating openings for devastating counterattacks.
Weapon Core-Heaven's Mandate Culverins
The star of this build is the Heaven's Mandate-electric culverins that apply the Storm Struck status.
Base Electric Damage: Up to 500 (not huge, but boosted through modifiers).
Custom Rolls: Incendiary + Amplified Electric to trigger both fire and electric status effects consistently.
Placement: Every main gun position-bow, broadsides, and stern-uses this setup.
Why incendiary? Because it allows us to trigger Ablaze alongside Storm Struck, stacking two DoTs that melt ships in seconds.
Stern Weapon-Thunder Dragon Cannon
Our stern is fitted with the Thunder Dragon Cannon-key for:
Tearing Sails (slowing or stopping enemy movement).
Delivering stronger lightning bolts when enemies already have torn sails.
Setting up finishing blows if enemies manage to close distance.
Auxiliary-Repair Mortar
Survivability matters in extended fights. The Repair Mortar with Service Restorative and Long Arm lets us:
Repair allies at a distance.
Support during sieges or events without breaking formation.
Build Philosophy-Speed + Secondary Damage
The combustion build in part one was all about chaining secondary effects and locking enemies down. Here, the philosophy is:
1.Maximize reload speed so we're constantly applying Storm Struck and Ablaze.
2.Stack secondary damage boosts for burning and electric effects.
3.Keep torn sails pressure to set up immobilized kills.
Furniture Setup-Reload Focus
We keep two staples from part one:
Ram Rod Workshop-7% reload speed boost + secondary damage increase.
Fuse Fusing Station-Another 7% boost to reload speed and DoT potency.
Then we add:
Megaphone-Consecutive hits reduce reload time by 0.5s, stacking up to 15% faster reloads. Resets after 10 seconds, but stacks easily thanks to constant sail hits.
Math Check:
Broadsides: Start with 7% faster reload → +15% from Megaphone = ~22%.
Bow/Stern: Start with 9% → +15% = ~24%.
Add a Fruit Cake (event consumable) for an extra 5%, pushing totals close to 30% reload reduction.
Targeting Tip-Sails First
Hitting sails is incredibly effective with the Frigot's culverins:
Massive hit coverage.
No torn sail charge-rate furniture needed-natural tearing occurs rapidly.
Once sails are gone, shift fire to hull or weak points.
This keeps your Megaphone reload buff active and ensures your enemy can't reposition.
Furniture Setup-Damage & Range Quirk
Next, we slot two furniture pieces that boost secondary damage and range:
1.Copper Fastening Station-+secondary electric damage, +8% range.
2.Devil's Concoction-+secondary burning damage, +8% range.
Here's the quirk: Both range boosts stack for a 16% total range increase-but it applies to the entire weapon, not just one element. That means you might accidentally overshoot targets, especially hull shots. Solution: Use enhanced zoom to ensure accuracy.
Culverin Works-Final Damage Boost
Culverin Works 1-+19% secondary damage for culverins.
Armor Choice-Buccaneer's Oath (+25% damage after a kill) is ideal for fleet fights or events. For solo/boss play, swap to Nocturn Heart (+15% damage if above 75% health).
How Storm Struck + Ablaze Work Together
This synergy is the heart of the build:
Ablaze: Triggered by stacking enough burning damage. Deals heavy damage over time-hundreds per second.
Storm Struck: Triggered by stacking enough electric damage. Deals damage when lightning chains to nearby ships. Damage increases per ship chained.When both are active:
Affected ships take overlapping DoTs-one constant, one triggered by lightning jumps.
In fleet fights, primary targets can get double, triple, or quadruple Storm Struck damage due to multiple chains.
The result? Enemy vessels disappear in seconds.
Playstyle-Group and Solo
Group Fights: This build shines brightest here. Spread statuses, tear sails, and let DoTs do the work while reload boosts keep pressure constant.
Solo/Elite Targets: Still effective-just less multiplicative damage without nearby ships for Storm Struck chains.
Comparing to the Combustion Build
The combustion build from part one:
Focus: Lock down ships with explosion chains, spread Shell Shock, control battlefield movement.
Perk: Combustion explosions spread to nearby ships for bonus damage and more Shell Shock procs.
The Storm Struck + Ablaze build:
Focus: Pure melting power-apply two potent DoTs rapidly and continuously.
Perk: Stacks even harder in fleets, as Storm Struck scales with enemy density.
Both are deadly, but the Ablaze/Storm Struck combo has higher burst potential against grouped enemies.
Potential in Fort Assaults
While we haven't tested this exact build in Woven Hole, experience with similar bombard builds suggests it will wreck fort defenses. Continuous DoT pressure + sail tearing should make it perfect for both sieges and open-sea raids.
Tips for Mastery
1.Maintain Firing Rhythm-Keep the Megaphone bonus alive with constant hits.
2.Prioritize Sails Early-Ensures control and faster kill setups.
3.Watch Your Range-That extra 16% can cause overshoots-zoom in for precision.
4.Know Your Targets-Use Buccaneer's Oath for swarms, Nocturn Heart for bosses.
5.Pair With Allies-Storm Struck gets nastier with more enemies close together.
Final Thoughts
The Frigot may not be marketed as a DPS monster, but with the Heaven's Mandate incendiary build, it turns into a fleet-melting powerhouse. Between the relentless reload speed boosts, overlapping DoTs, and sail-tearing utility, you'll dominate both PvE events and open-world encounters cheap skull and bones boosting service.
It's not quite the " true" DPS ship some captains dream of, but when you can consistently apply two to three status effects with near-zero downtime, you're already sailing one of the nastiest setups in Skull and Bones.


